How to setup an Nginx reverse proxy (Ubuntu)
In this article, we will show you how to set up an Nginx reverse proxy on Ubuntu. We will cover everything you need to know, from installation to debugging. This article is suitable for developers looking to host multiple websites on a single server or business owners looking to improve the performance and security of their online presence.

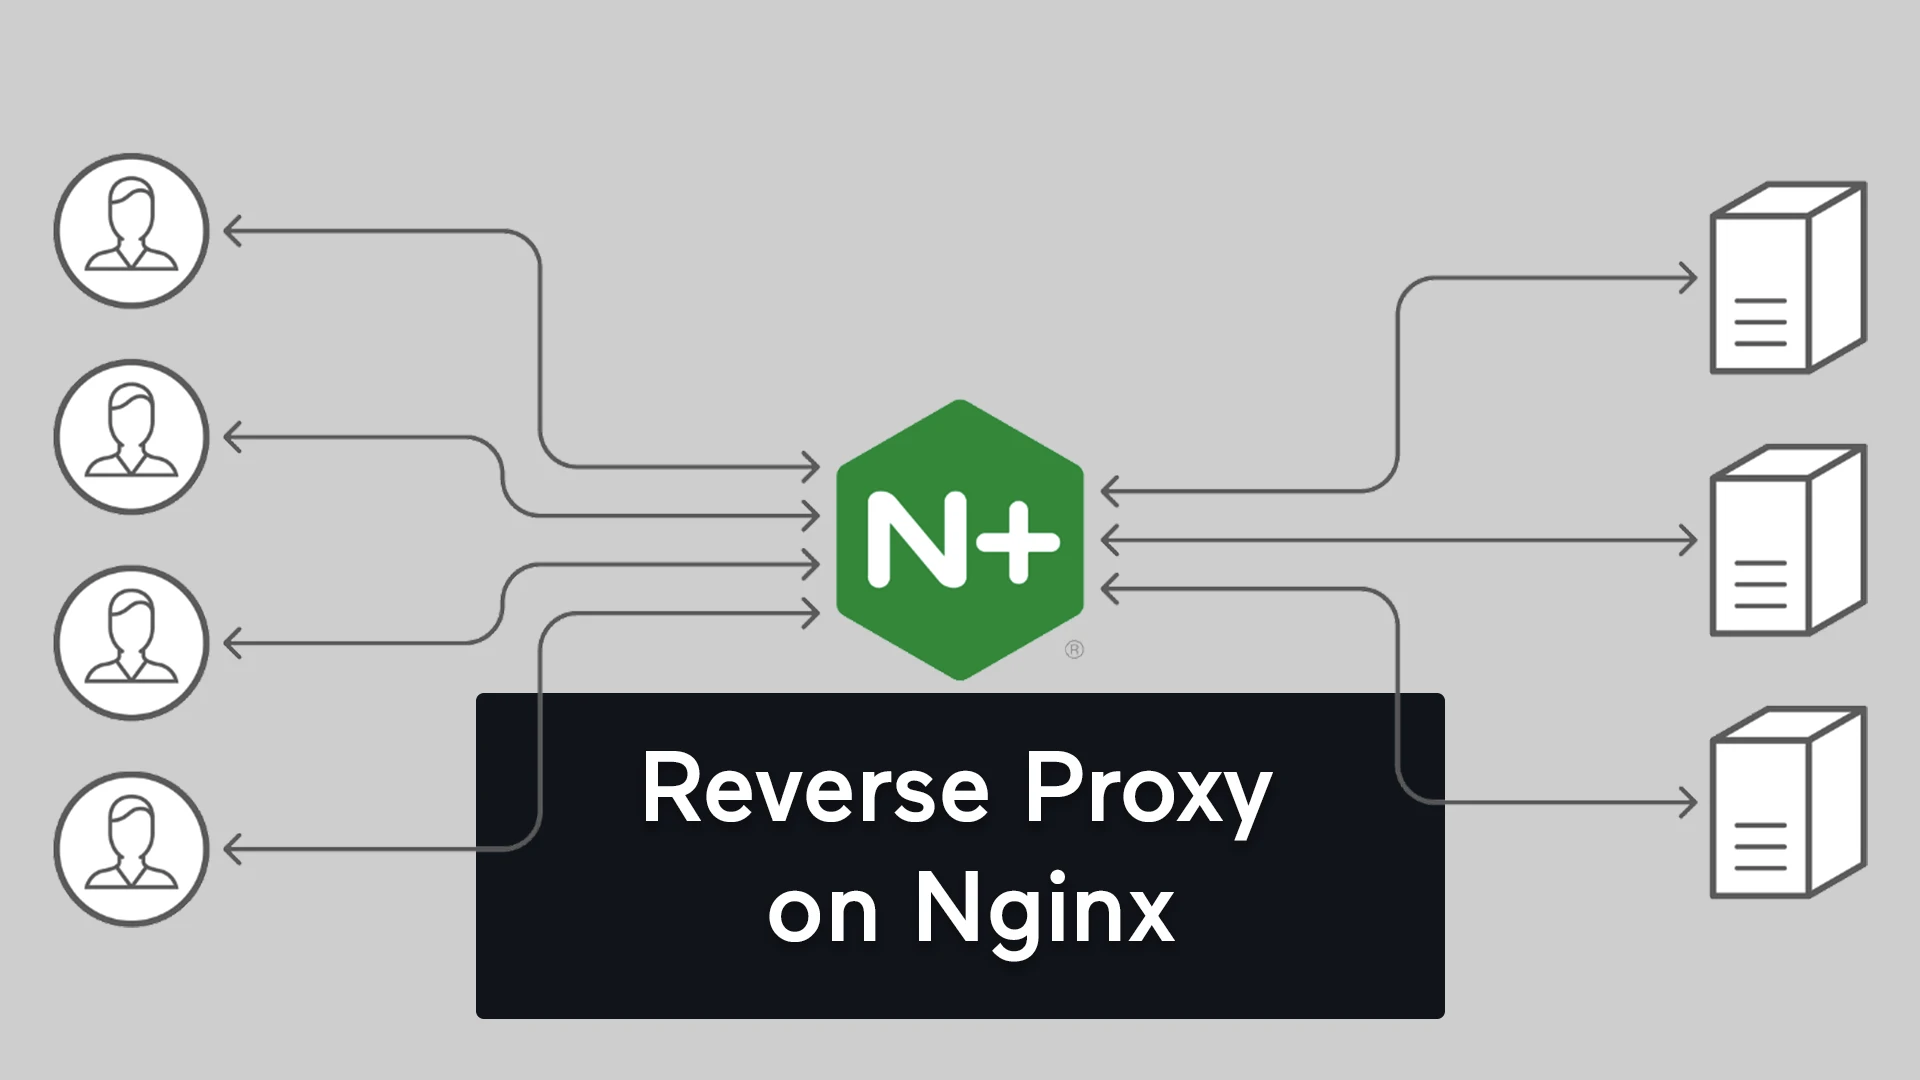
A reverse proxy is a server that sits in front of one or more web servers and directs client requests to the appropriate server. Reverse proxies can be used to load balance traffic, cache content, and provide SSL termination, among other things. In this guide, we will show you how to set up a reverse proxy using Nginx on Ubuntu.
First, make sure that you have Nginx installed on your server. If you don't have Nginx installed, you can install it by
running the following commands:sudo apt-get updatesudo apt-get install nginx
Once Nginx is installed, you will need to create a new configuration file for your reverse proxy. You can do this by
creating a new file in the /etc/nginx/sites-available directory. For example, you might create a file called
reverse-proxy.conf.
In your configuration file, you will need to specify the upstream servers that you want to proxy traffic to. This is done using the upstream block. For example:
upstream app_server {
  server app1.example.com;
  server app2.example.com;
}
Next, you will need to create a server block for your reverse proxy. In this block, you will need to specify the domain
name that you want to use for your reverse proxy, as well as the location of the SSL certificate and key if you want to
serve traffic over HTTPS. You will also need to specify the proxy_pass directive, which tells Nginx where to forward
traffic. For example:
upstream app_server {
  server app1.example.com;
  server app2.example.com;
}

server {
listen 80;
listen [::]:80;
server_name example.com;

    location / {
        proxy_pass http://app_server;
    }
}
Once you have created your configuration file, you will need to enable it by creating a symbolic link from the
sites-available directory to the sites-enabled directory. You can do this by running the following command:sudo ln -s /etc/nginx/sites-available/reverse-proxy.conf /etc/nginx/sites-enabled/
Finally, you will need to test your configuration and restart Nginx to apply the changes. You can test your
configuration by running the following command:sudo nginx -t
If the test is successful, you can restart Nginx by running the following command:sudo service nginx restart
Conclusion
That's it! You should now have a working reverse proxy set up using Nginx. If you want to learn more about Nginx and how to configure it, you can check out the Nginx documentation at https://nginx.org/en/docs.